
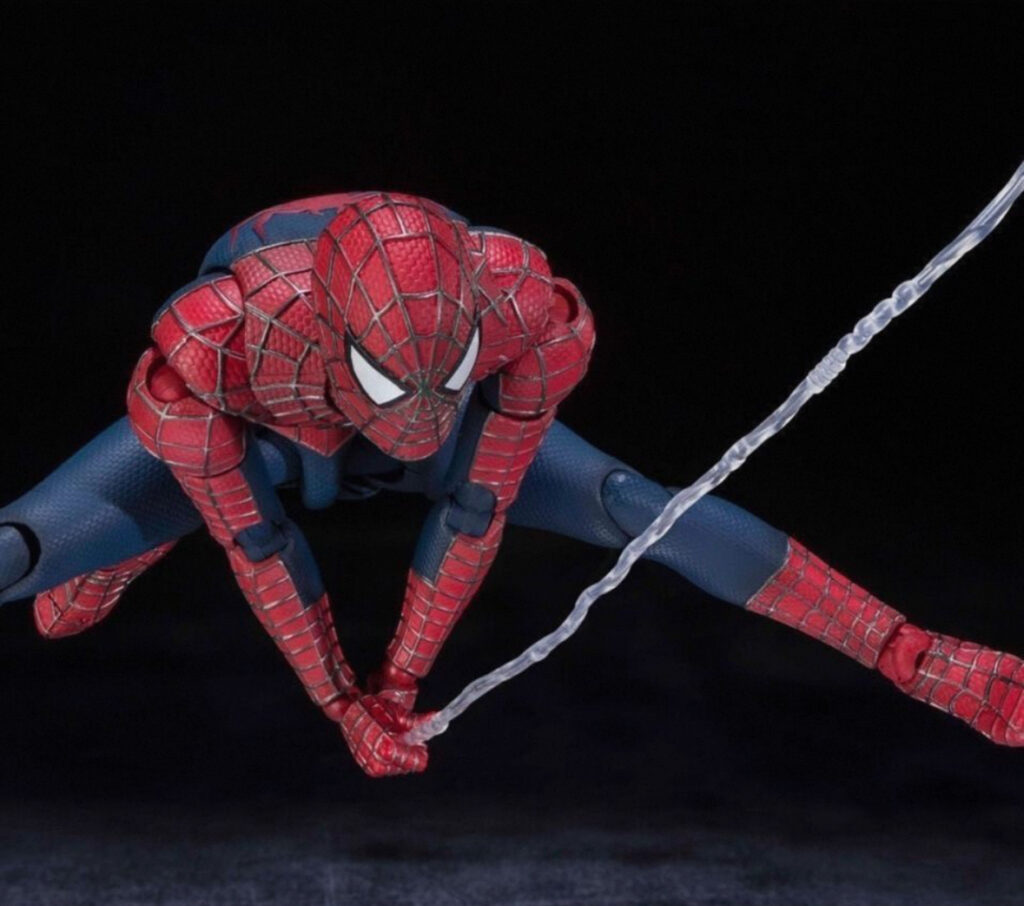
Spider-Man has swung into our hearts since 1962, evolving from Peter Parker’s high-school hijinks to a multiverse-spanning icon across comics, films, and games. But store-bought action figures, while awesome, often fall short of our personal visions—be it a battle-worn suit from The Night Gwen Stacy Died or a fan-fic fusion with Iron Man’s armor. Enter DIY customization: the art of transforming a $20 Marvel Legends blank into a one-of-a-kind masterpiece that screams your Spidey story.
This 2000-word guide is your blueprint for Spider-Man action figure mods. Whether you’re a newbie with acrylic paints or a seasoned modder wielding Dremels, we’ll cover everything from simple repaints to advanced sculpting and LED integrations. By 2026, with 3D printing accessible via apps like Tinkercad and eco-paints from brands like Vallejo, customizing has never been easier—or greener. Expect step-by-step tutorials, tool breakdowns, and pro tips drawn from collector communities like Reddit’s r/ActionFigure and DeviantArt galleries. Safety first: Work in ventilated spaces, and remember, these mods void warranties but build skills.
We’ll structure this as a progression: beginner tweaks, intermediate upgrades, advanced overhauls, and maintenance hacks. Grab your figure (a 6-inch Legends is ideal—versatile and cheap at $25), and let’s web up some creativity. Your shelf awaits its hero.
Essential Materials and Tools: Building Your Web-Slinger Workshop
[In Stock] Spiderman Marvel Movie Action Figure Custom High Quality Collectible Statue
This Spider-Man action figure is inspired by the Marvel movie, perfectly capturing his iconic pose and details. Made from high-quality materials with vibrant colors and…
View Product →Before diving in, stock your toolkit. Customizing demands precision, so invest wisely—start under $50 for basics, scaling to $200 for pros. Here’s a categorized table for clarity:
| Category | Must-Haves | Nice-to-Haves | Estimated Cost |
|---|---|---|---|
| Prep & Cleaning | Rubbing alcohol, microfiber cloths, toothpicks for details | Ultrasonic cleaner ($30) | $5–$10 |
| Painting | Acrylic paints (Vallejo or Citadel, red/blue/black set), fine brushes (#00–#0), primer (Krylon matte black) | Airbrush kit ($40), masking tape | $15–$30 |
| Sculpting | Apoxie Sculpt epoxy putty, sculpting tools (X-Acto knife, files) | Polymer clay (Sculpey), heat gun | $10–$20 |
| Finishing | Matte varnish (Testors Dullcote spray), sandpaper (400–2000 grit) | Weathering powders (Mig Pigments) | $8–$15 |
| Electronics (Advanced) | Micro LEDs, coin batteries, wire strippers | Soldering iron ($20), heat-shrink tubing | $10–$50 |
| General | Painter’s tape, plastic cups for mixing, gloves | Dremel rotary tool ($40), 3D printer filament ($20/spool) | $5–$40 |
Source these from Amazon, Hobby Lobby, or Michaels—2026’s eco-shift means biodegradable putties and low-VOC paints are standard. For figures, base with a Hasbro Marvel Legends Spider-Man (e.g., the 60th Anniversary edition, $25)—its 34-point articulation is mod-friendly. Always photograph your “before” for reference, and work on a protected surface. Pro Tip: Use a lazy Susan turntable ($5) for 360-degree access.
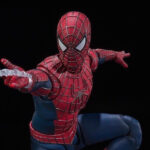
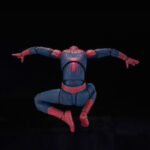
With your arsenal ready, let’s swing into the tutorials. We’ll assume a classic red-and-blue suit as our canvas, but adapt for variants like Miles Morales or Spider-Gwen.
Beginner Tutorial: Repainting for a Battle-Scarred Look
Perfect for first-timers, this mod adds grit to a pristine figure, evoking Spidey’s post-Vulture skirmish vibe from Amazing Spider-Man #2. Time: 2–3 hours active, 24 hours drying. Difficulty: Easy.
Step 1: Prep the Figure (20 minutes)
Disassemble where possible—remove heads, hands, and accessories via pegs (use pliers gently). Soak in warm soapy water for 10 minutes to strip factory shine, then rinse and dry. Lightly sand glossy areas with 800-grit paper for paint adhesion. Wipe with alcohol-dampened cloth—residue kills grip.
Mask off joints with painter’s tape to avoid gunking articulation. Prime the suit in thin coats: Shake Krylon well, spray 6 inches away in a well-vented garage (or use a $10 spray booth). Two light layers, 15 minutes apart, dry for 1 hour. Black primer darkens reds, adding depth.
Step 2: Base Coats and Webbing (45 minutes)
Mix Vallejo reds (Scarlet Red base, Flat Red shade) in a cup. Apply thin brush strokes to the suit—start with the torso spider emblem for confidence. Use a #0 brush for precision; two coats, drying 10 minutes each. Blues get Prussian Blue, layered over primer for that comic-pop.
Webbing: Dilute black acrylic 1:1 with water for a wash effect. With a toothpick, drag lines across limbs—mimic Ditko’s irregular patterns, not perfect grids. Dry-brush silver (Citadel Chainmail) on edges for metallic web-shooters. Hands and boots: Gloss varnish on soles for realism.
Step 3: Detailing and Scratches (30 minutes)
Eyes: White base, then black outlines—tiny dots for that urgent gaze. For battle scars, mix brown/black wash and dab with a sponge (cut an old makeup one). Focus on knees, elbows, and mask cheeks—feather edges for subtlety. Add “dirt” with dry-brushed earth tones on boots.
Step 4: Sealing and Reassembly (15 minutes + dry time)
Spray Dullcote from 8 inches—two passes, 30 minutes apart. This matte seal protects against fingerprints and yellowing. Reattach parts once tack-free (overnight). Pose in a crouch; the scars pop under desk lamps.
Result: Your Spidey looks like he’s tangled with Electro—authentic wear without fragility. Cost: $10 add-on. Community Share: Post on #DIYSpiderMan for feedback; one Redditor’s scarred fig went viral with 2K upvotes.
Upgrade Idea: Glow-in-the-dark paint on webs for night patrols ($5 extra).
Intermediate Tutorial: Swappable Head and Accessory Mods
Level up with head swaps and custom webs—turn your figure into a “Peter unmasked” storyteller or web-wing glider. Time: 4–6 hours. Difficulty: Medium. Requires basic sculpting.
Step 1: Head Sculpting – Unmasked Peter Parker (1 hour)
Bake a Sculpey bust from a spare head (or buy a blank for $5 on Etsy). Roll 1 oz clay into a 1-inch ball; use a photo ref for Peter’s tousled hair and boy-next-door face. Carve eyes with an X-Acto (indent sockets, add brows with needle tool). Lips: Slight smirk for quips. Bake at 275°F for 15 minutes on foil—cool fully.
Sand rough edges (600-grit), prime, and paint: Flesh tones (Vallejo Basic Skin + highlights), brown hair dry-brushed. Eyes: Blue irises with white glints. Seal with varnish. Drill a 1/8-inch hole in the neck peg for secure fit—test swivel.
Step 2: Custom Web Effects (1.5 hours)
For dynamic swings, mold Apoxie putty into tendrils: Mix equal parts, knead 2 minutes till uniform. Roll into 4-inch ropes; twist for organic drips. Embed copper wire (26-gauge, $3/spool) for posability—strip ends, poke into putty. Shape as “V” wings or straight shooters; cure 24 hours.
Paint translucent white (diluted acrylic), add black veins. For attachment, sculpt putty bases with peg holes matching wrist ports. Dry-brush gloss clear for sticky illusion.
Step 3: Integration and Testing (1 hour)
Swap heads: Heat the original neck joint with a hairdryer (low, 30 seconds) to soften PVC, then pop off—careful, it’s permanent. Insert new head; secure with putty if loose. Attach webs: Grip in hands or post to back. Pose test: Mid-swing with wings—adjust wire for arc.
Finishing: Weather the new head with subtle scratches (Step 2 from beginner tutorial). Total pose options double—unmasked for civilian scenes, masked for action.
Pro Hack: Use clear nail polish on pegs for friction. This mod shines in dioramas; pair with a printed Daily Bugle base ($10 STL file).
Advanced Tutorial: Full Body Re-Sculpt and LED Upgrades
[In Stock] Spiderman Marvel Movie Action Figure Custom High Quality Collectible Statue
This Spider-Man action figure is inspired by the Marvel movie, perfectly capturing his iconic pose and details. Made from high-quality materials with vibrant colors and…
View Product →For god-tier customs, re-sculpt the torso for a bulkier Kraven’s Last Hunt physique and wire in lights for Iron Spider glow. Time: 8–12 hours over days. Difficulty: Hard. Dremel skills advised.
Step 1: Body Mod – Muscled Torso (2 hours)
Dremel off the factory chest spider (low speed, dust mask on). File smooth. Mix Apoxie for abs: Sculpt a 6-pack overlay—press into torso, blend seams with wet finger. Add pec ridges and traps for post-power lift. Cure 24 hours; sand to 2000-grit for seamless flow.
Resculpt spider emblem: Carve raised lines, embed metallic flakes in putty for shine. Prime and paint as before, but layer glazes for depth—red over orange wash for sunset hues.
Step 2: LED Integration – Glowing Eyes and Webs (3 hours)
Solder circuit: Strip 22-gauge wire, attach three 5mm blue LEDs (eyes) and red ones (webs)—positive to battery +, negative chain. Use heat-shrink ($5 pack) over joints. Coin cell holder ($2) glues to inner torso (hollow via Dremel).
For eyes: Drill 3mm holes in mask lenses; thread LEDs, seal with clear epoxy. Webs: Embed thin LEDs in putty effects from intermediate step—diffuse light with translucent paint. Switch: Tiny toggle in back, hidden under seam.
Test: 3V battery powers 2-hour glow—fades dramatically. Waterproof with silicone sealant.
Step 3: Finishing Overhaul (2 hours)
Reassemble: Epoxy reinforced joints for LED weight. Full repaint: Airbrush webs for even coverage. Weather heavily—chip paint on shoulders with hobby knife, rub in rust pigments.
Display: Mount on acrylic stand ($8) with USB recharge mod (advanced wiring). This Spidey pulses like the MCU’s symbiote suit—perfect for Spider-Man: No Way Home tributes.
Safety Note: LEDs get hot; insulate wires to prevent shorts. Cost: $40–$60.
Tips, Tricks, and Troubleshooting: Mastering the Mod Game
- Color Matching: Use a phone app like Adobe Color to scan comic panels—match HEX codes to paints.
- Avoiding Cracks: Heat figures gradually; PVC warps at 150°F.
- Eco-Upgrades: Swap epoxies for biodegradable alternatives like EcoSculpt.
- Common Fixes: Sticky paint? Rub with alcohol. Loose limbs? Epoxy shims. Faded colors? UV-protective varnish.
- Scaling Up: 3D print custom parts—import Legends STL to Blender (free), tweak in Tinkercad, print via library service ($0.10/gram).
- Community Boost: Join Action Figure Customs Discord—share WIPs for critiques. 2026 trend: AR filters scanning mods for virtual battles.
Storage: Keep in acid-free boxes; pose neutrally to preserve joints.
Safety and Sustainability: Responsible Web-Slinging
Ventilation is non-negotiable—fumes from primers cause headaches; use a fan or outdoors. Gloves prevent skin irritation; eye protection for Dremels. For kids: Supervise, skip electronics. Dispose paints responsibly—hardware stores recycle.
Sustainability: 2026’s push means recycled plastics in figures (Hasbro’s line) and water-based paints. Reuse scraps for filler; donate failed mods to upcycle shops.
Customizing a Spider-Man action figure isn’t just tinkering—it’s channeling Uncle Ben’s wisdom into plastic heroism. From beginner scratches to LED-lit epics, these tutorials empower you to craft figs that tell your tale, whether it’s a Queens kid or a multiverse menace. Start small, iterate boldly, and soon your shelf will host a personalized ‘verse. Total investment: $50–$200, endless satisfaction. Now, grab that primer—great power (and putty) awaits. What’s your first mod? Swing forth, creators!
![[In Stock] Spiderman Marvel Movie Action Figure Custom High Quality Collectible Statue](https://wooxic.com/wp-content/uploads/2026/01/IMG_2577-380x380.jpeg)