Customizing an Invincible action figure is more than just a hobby—it’s a creative tribute to one of today’s most compelling superhero narratives. Whether you’re bringing Mark Grayson’s iconic blue-and-red suit to life with enhanced realism, swapping in a variant costume (like the black “Viltrumite War” look), or upgrading articulation for dynamic display poses, this project lets you personalize your favorite character with professional-grade results—no factory mold required. This guide walks you through a full customization journey using a base figure (e.g., McFarlane Toys’ Invincible 7-inch scale line or Hasbro’s Marvel Legends-style releases) as your canvas.
This project is beginner-friendly but scalable—ideal for crafters with basic model-building experience (think glue, paint, and light sculpting), yet rich enough for intermediates to explore advanced techniques like resin casting or LED integration. No prior figure-customizing background is essential; patience, attention to detail, and willingness to learn are your most valuable tools.
Tools You’ll Need:
– Precision hobby knife (X-Acto #11 blade, with spare blades)
– Fine-tip tweezers (straight & bent-nose)
– Small clamps or rubber bands (for holding parts while glue cures)
– Sanding sticks (220-, 400-, and 1000-grit) + micro-sanding sponges
– Detail paintbrushes (sizes 00, 0, and 2 round; plus a soft flat brush for washes)
– Hobby-grade hobby vise or third-hand tool (optional but highly recommended)
– Ventilated respirator mask (N95 minimum; organic vapor cartridge for paints/adhesives)
– LED micro-light kit (3mm warm-white LEDs + coin-cell battery holder, optional)
Materials List:
– Base Invincible figure (McFarlane’s Series 1 or 2 recommended—good articulation, crisp sculpts)
– Plastic cement (Testors Liquid Cement or Tamiya Extra Thin) or cyanoacrylate (CA) glue for non-ABS plastics
– Acrylic paints (Vallejo Model Color or Citadel Contrast range—“Blue Steel,” “Red Gore,” “Chaos Black,” “Warpaint Skin Tone”)
– Matte clear coat spray (Krylon Fusion for Plastic or Testors Dullcote)
– Green stuff or Milliput epoxy putty (for sculpting armor details or facial tweaks)
– Replacement eyes (1.5mm acrylic cabochons or printed eye decals)
– Thin brass wire (0.3–0.5mm) for poseable antennae or energy effects (optional)
– Soft fabric scraps or stretch vinyl (for cape or belt texture upgrades)
Time & Cost Estimate:
Plan for 12–20 hours total, spread over 4–7 days (allowing drying/curing time between stages). Most steps take 30–90 minutes, but paint layers and glue bonds require 2–24 hours to fully set. Budget $45–$85: $25–$45 for the base figure, $12–$20 for paints/supplies (many items reusable), and $8–$20 for optional upgrades (LEDs, premium putty, or replacement parts). Remember—you’re investing in a museum-quality piece that reflects your passion. Take your time. Breathe. And celebrate every small win—even perfectly masking a tiny shoulder seam counts!
Preparation and Planning

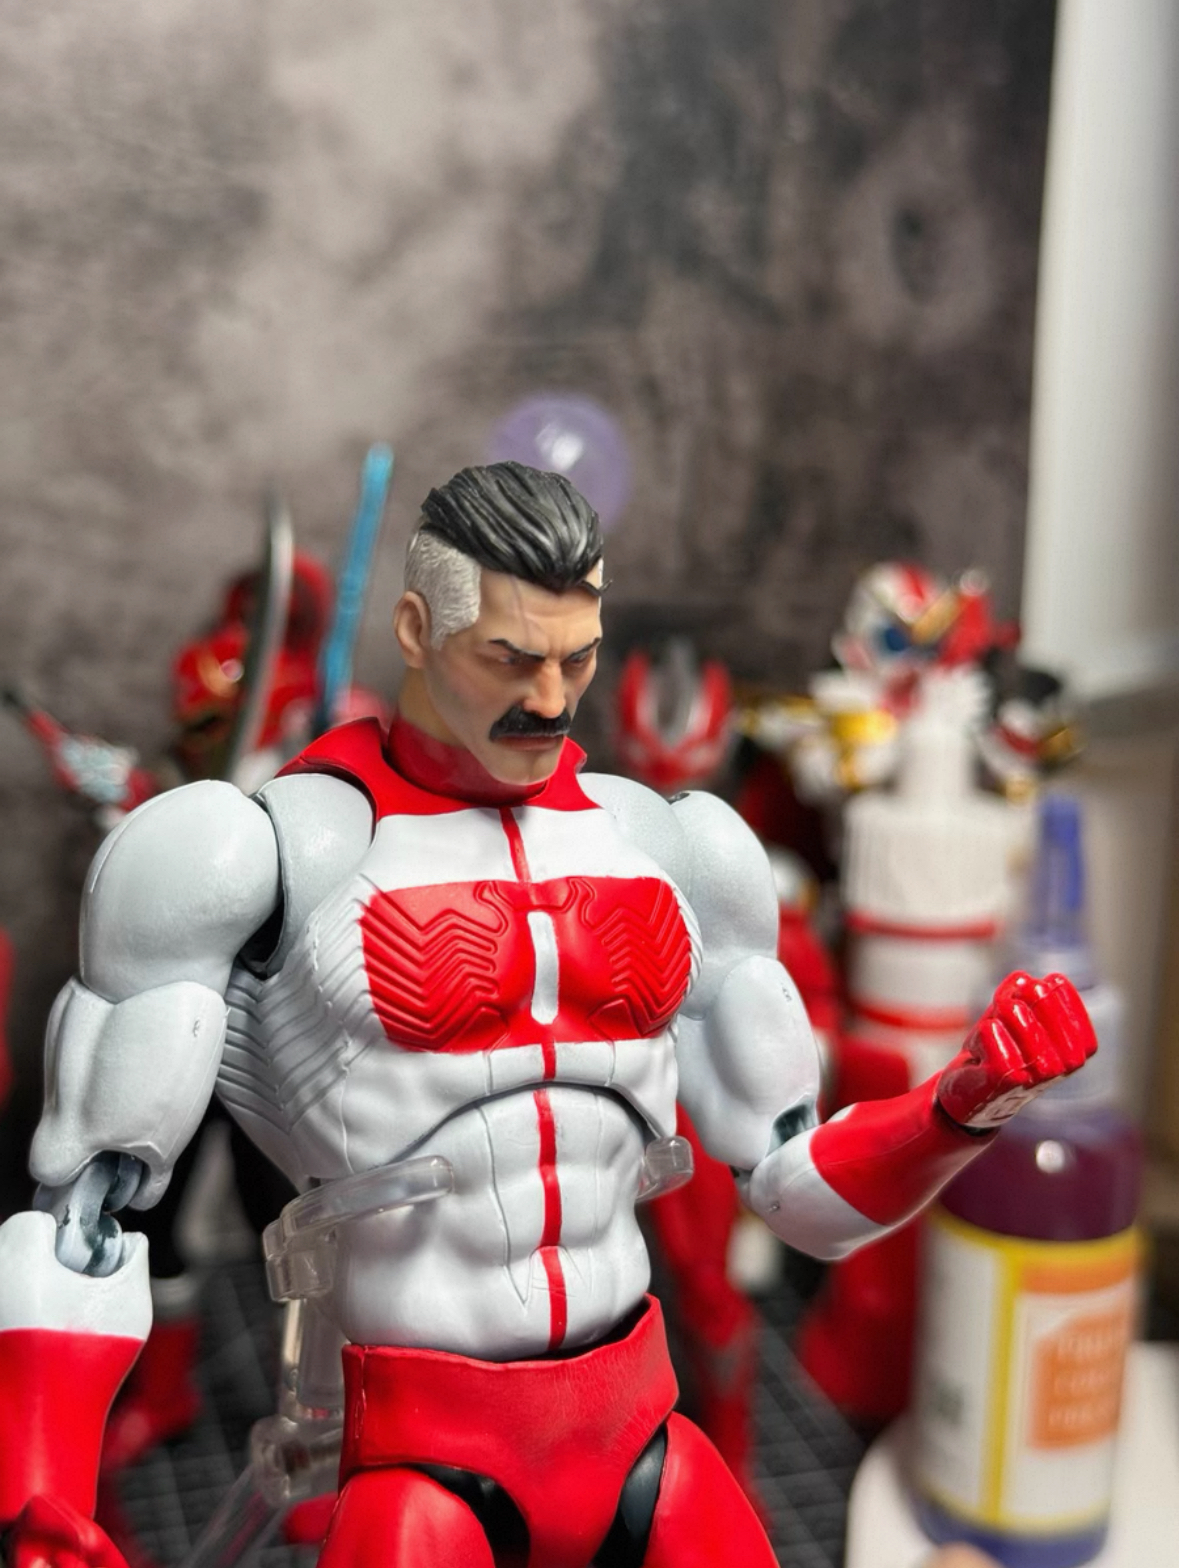
Invincible Action Figure Custom Figure Comics Stern Stance
The Invincible action figure stands in a stern, watchful pose, slightly turned with its head angled downwards. Its right arm is bent at the elbow,…
View Product →Before touching your figure, thoughtful preparation sets the foundation for success—and saves hours of rework. Start by studying reference images: gather high-res screenshots from the Amazon Prime Invincible series (especially Season 1, Episode 1 “It’s About Time” for his classic suit), official comic panels (Robert Kirkman’s original run), and behind-the-scenes sculpt breakdowns. Print 3–5 key angles (front, ¾ view, back, close-up of face/hands) and tape them to your workspace wall. This visual anchor prevents drift from canon and helps spot asymmetries early.
Safety is non-negotiable. Always work in a well-ventilated area—ideally near an open window with a fan pulling air away from you—or use a dedicated spray booth. Wear nitrile gloves when handling solvents or uncured putty, and never skip your respirator during sanding, priming, or airbrushing. Keep a fire extinguisher rated for electrical/chemical fires nearby if using LED wiring or solvent-based paints. Keep pets and children out of your workspace—small parts and adhesives pose choking and toxicity risks.
Set up your workspace deliberately: Cover your surface with a self-healing cutting mat (to protect countertops and catch debris), then layer it with parchment paper or wax paper for easy cleanup. Organize tools in labeled magnetic strips or foam-lined trays—keep blades, glue, and paints within arm’s reach but never on the edge of the table. Use a bright, daylight-balanced LED lamp (5000K–6500K) with adjustable arm to eliminate shadows on tiny details like eyelashes or belt buckles. Add a small humidifier if your room is dry—low humidity accelerates paint cracking.
Planning tips make all the difference: First, photograph your uncustomized figure from all angles—this baseline helps track progress and diagnose issues later. Next, sketch your vision on paper: Will you add Viltrumite glyphs to the chest emblem? Replace the static head with a more expressive, slightly opened-mouth portrait? Reinforce the knee joints for deep crouches? Prioritize one major upgrade per session to avoid overwhelm. Finally, batch similar tasks: prep all parts for sanding before starting, mix all paint shades before painting begins, and test-fit every modified component before gluing. Ask yourself: “Does this change serve the character’s story?” A glowing fist may look cool—but unless it’s for a specific energy-blast scene, it might dilute Invincible’s grounded, human-hero aesthetic. Trust your instincts. And remember: even pros sand off mistakes and start over. Your figure isn’t fragile—it’s waiting for your care.
Step 1: Disassembly, Cleaning, and Surface Prep
Begin by gently disassembling your Invincible figure—this isn’t destruction; it’s respectful deconstruction. Using tweezers and steady pressure, carefully separate limbs at ball-joint sockets (shoulders, hips, knees). For peg-and-hole joints (elbows, wrists), twist slightly while pulling straight out—never yank sideways, which can crack plastic. If resistance feels high, apply a tiny drop of isopropyl alcohol (90%+) to the joint with a cotton swab; wait 30 seconds for it to loosen the factory adhesive, then try again. Set each part on labeled paper towels (“HEAD,” “L-ARM,” etc.) to avoid mix-ups.
Next, deep-clean every surface. Soak parts in warm water with 1 tsp mild dish soap for 5 minutes, then scrub gently with a soft toothbrush (dedicated to crafts—never reuse for teeth!). Rinse thoroughly and pat dry with lint-free microfiber. This removes oils, dust, and mold-release residue that prevent paint adhesion. Now inspect under bright light: look for flash (thin plastic seams), sink marks (slight depressions), or casting bubbles. Mark problem areas lightly with a pencil dot—they’ll be your sanding targets.
Sanding is where magic begins. Start with 220-grit sandpaper wrapped around a flat stick to knock down major seams and rough edges—use long, even strokes with the grain of the plastic (usually vertical on torsos, horizontal on limbs). Switch to 400-grit to smooth transitions, then finish with 1000-grit wet-sanded under running water for a glassy, paint-ready surface. Critical tip: Sand only where needed—over-sanding thins plastic and weakens joints. Test fit parts frequently; if a limb wobbles post-sanding, reinforce the peg with a tiny wrap of Teflon tape before reassembly.
For sculpting upgrades (e.g., deeper jawline, sharper cheekbones), knead equal parts of green stuff epoxy, roll into a snake, and press firmly onto the face. Use a damp sculpting tool (dip a fine brush in water, not alcohol—it dissolves green stuff) to blend edges seamlessly. Let cure 4–6 hours. Once hardened, lightly sand only the sculpted area with 1000-grit to integrate it.
Checkpoint confirmation: Hold each part up to a light source. You should see no visible seams, no shiny “plastic shine” patches, and zero dust or grease smudges. When tapped lightly, parts should emit a clean, hollow ping—not a dull thud (which signals trapped moisture or residue). If anything fails this check, repeat cleaning or sanding. This step takes time—but rushing here guarantees paint peeling later. You’ve got this.
Step 2: Priming, Painting, and Detailing
Priming transforms your smooth plastic into a receptive canvas. Shake a can of Krylon Fusion for Plastic Primer for 60 seconds, then spray in short, sweeping passes (12 inches away, side-to-side, never circular) until all surfaces have a uniform, matte gray veil—about 2 coats, 10 minutes apart. Avoid heavy buildup; primer should feel velvety, not glossy or tacky. Let cure fully for 2 hours.
Now, paint with intention. Start with base colors: Use a size 2 brush to block in the torso, arms, and legs with “Blue Steel” acrylic. Apply thin, even coats—2–3 layers, drying 15 minutes between. Why thin coats? Thick paint fills fine textures (like fabric weave on the suit) and cracks when the figure is posed. For the red emblem and gloves, switch to “Red Gore.” Paint the emblem first, let dry, then mask its edges with precision hobby tape (cut tape to shape with your X-Acto) before painting surrounding blue—this ensures razor-sharp lines.
Detailing brings Invincible to life. With a size 00 brush and “Chaos Black,” paint the eye sockets and inner ears. Then, mix 1 part “Warpaint Skin Tone” + 1 part white for highlights on cheekbones, nose bridge, and knuckles—apply with a dry brush technique: load brush, wipe 90% off on paper towel, then lightly drag over raised areas. For the emblem, add depth: paint the outer ring metallic silver, then dry-brush gold only on its top curve. Finally, use a toothpick dipped in black paint to dot pupils—place them slightly off-center (like real eyes) for naturalism.
Common mistake alert: Don’t paint joints (knee/hip pivots) or peg holes—this restricts movement. Mask them with blue painter’s tape before priming. Also, never use enamel or oil paints—they melt plastic. Stick to water-based acrylics.
Visual description: At this stage, your figure should look like a vibrant comic panel—crisp colors, dimensional skin, and gleaming emblem—but with a soft, matte finish. The blue suit shouldn’t look “wet”; the red should pop without bleeding.
Checkpoint confirmation: Under daylight, examine from 12 inches away. You should see zero brushstrokes, no color bleed, and perfect coverage on all surfaces—including undersides of arms and behind ears. If you spot a missed spot, touch up only with a single, feather-light stroke. Let dry 1 hour before moving to sealing.
Step 3: Sealing, Reassembly, and Poseable Enhancements
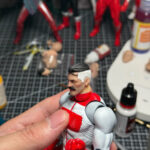
Invincible Action Figure Custom Figure Comics Stern Stance
The Invincible action figure stands in a stern, watchful pose, slightly turned with its head angled downwards. Its right arm is bent at the elbow,…
View Product →Sealing locks in your artistry and protects against UV fading and fingerprints. Use Testors Dullcote spray—shaken vigorously for 90 seconds—in a dust-free, ventilated space. Hold 10 inches from the figure and spray 3 light, overlapping passes (not one heavy coat), rotating the figure slowly on a turntable or lazy Susan. Wait 5 minutes between coats. Let cure 24 hours undisturbed—this prevents hazing or “orange peel” texture.
Now, reassembly with upgraded function. Before gluing, test-fit all parts. If shoulders or hips feel loose, add a micro-dot of CA glue to the peg—just enough to create friction, not lock rotation. For knees and elbows, insert a 1mm brass pin (cut with flush cutters) into the joint cavity first, then glue the limb over it—this adds rotational stability without sacrificing poseability.
Poseable enhancements elevate realism. To create a dynamic flying stance: bend thin brass wire (0.3mm) into wing-like curves for the arms, embed ends in drilled hand sockets (use a pin vise), and cover joints with tinted green stuff blended to match skin tone. For energy effects: drill 1mm holes in fists, insert warm-white 3mm LEDs, wire to a hidden CR2032 battery pack in the torso (glued under the chest plate), and seal with clear epoxy resin. Test wiring before final assembly—use a multimeter to confirm continuity.
Tip: For capes or belts, replace flimsy plastic with stretch vinyl backed with fabric stiffener—cut to shape, heat-set with low-iron, then attach with flexible silicone adhesive (E6000). It moves naturally when posing.
Checkpoint confirmation: Your fully reassembled figure should hold a mid-air kick pose for 60 seconds without sagging, LEDs glow evenly (if added), and all joints rotate smoothly and lock securely. Run fingers over painted surfaces—they should feel uniformly matte and untextured. If any part feels sticky, dusty, or unstable, pause and troubleshoot. This is your masterpiece—worth every extra minute.
Troubleshooting Common Issues
Problem 1: Paint chipping or peeling after sealing.
Cause: Inadequate surface prep (oil/residue left), thick paint layers, or sealing before paint fully cured.
Solution: Strip affected areas with isopropyl alcohol, re-sand with 1000-grit, re-prime, and repaint in ultra-thin layers. Ensure 2+ hours between paint coats and 24 hours before sealing.
Problem 2: Joints becoming too stiff or seizing after glue application.
Cause: Excess CA glue wicking into pivot points or using non-flexible adhesive.
Solution: Disassemble, soak joints in acetone for 2 minutes (test on scrap plastic first), then scrub with a pipe cleaner. Re-lubricate with a micro-dab of plastic-safe silicone grease (e.g., CRC Dry Lubricant) before reassembly.
Problem 3: Green stuff sculptures cracking or detaching.
Cause: Applying putty to uncleaned plastic, insufficient curing time, or over-sanding cured putty.
Solution: Clean area with alcohol, roughen surface lightly with 400-grit, apply fresh putty in thin layers, and cure 8+ hours. Seal sculptures with a brush-on clear coat before sanding.
When to seek professional help: If you’ve attempted LED wiring twice and still get shorts or dim output, consult a hobby electronics forum (e.g., Reddit’s r/ActionFigures or r/ModelBuilding) with photos. If a critical part (e.g., head or torso) snaps during disassembly, contact the manufacturer—McFarlane offers replacement parts for registered purchases. Never force broken pieces; a pro can weld them with ultrasonic tools. Remember: Customizing is iterative. Every “mistake” teaches you more than perfection ever could.
Final Touches and Maintenance
Your Invincible figure is nearly complete—now, refine it into a legacy piece. Begin with final detailing: Use a white gel pen to add subtle highlight dots to the emblem’s center, a fine black liner to redefine eyelashes and mouth line, and a tiny dab of gloss medium (mixed 1:1 with water) on the lips and emblem for lifelike sheen—only on these areas. Let dry 30 minutes.
Quality check procedures: Place your figure under a magnifying lamp. Verify:
✅ All paint lines are crisp (no feathering)
✅ No glue strings or dried adhesive blobs
✅ Joint movement is smooth and holds poses for 2+ minutes
✅ LED lights (if used) emit even, warm-white glow with no flicker
✅ Surface feels uniformly matte—no tackiness or haze
Maintenance is simple but sacred. Dust weekly with a soft, dry makeup brush (never compressed air—it forces grit into joints). Every 3 months, wipe with a barely damp microfiber cloth—no cleaners. Store upright in a closed display case away from direct sunlight (UV yellows plastic). If storing long-term, place silica gel packs inside the case to prevent moisture warping.
Care instructions: Never submerge in water. Avoid temperature extremes (don’t leave in a hot car or near radiators). If paint gets scuffed, touch up only with matching acrylic and a 00 brush—never use markers or permanent pens.
Enhancement suggestions for future projects: Try weathering with a brown wash (diluted paint + water) in joint crevices for “battle-worn” realism. Or cast replacement hands in resin for clenched-fist energy poses. Join online communities to trade custom parts—you might discover a fellow fan’s 3D-printed Viltrumite armor upgrade!
You didn’t just build a toy—you honored a hero’s journey with your hands, heart, and patience. Stand back. Breathe. And know this: every brushstroke, every sanded seam, every carefully wired LED is a testament to your creativity. Your Invincible isn’t just action-ready. He’s alive. And so are you—capable, focused, and utterly unstoppable. Now go show him off. 🦸♂️


