Transform a standard off-the-shelf Sonic figure into a vibrant, expressive, and uniquely personal collectible — no sculpting or molding experience required.
Customizing a Sonic action figure is an exciting, accessible gateway into the world of figure modification — blending artistry, craftsmanship, and fandom. Whether you’re aiming to recreate a specific game variant (like Sonic Mania’s crisp pixel-perfect palette), reimagine Sonic in a new universe (cyberpunk, noir, or seasonal themes), or simply refresh a faded or scuffed vintage toy, this project lets you infuse personality, precision, and pride into every detail. Best of all, it’s beginner-friendly: no prior painting or modeling skills are required — just patience, curiosity, and a willingness to learn at your own pace.
This guide is designed for absolute beginners with no prior customizing experience. All techniques use low-risk, reversible (where possible), and widely available materials. While advanced customizers may adapt these steps for resin casting or part-swapping, our focus stays firmly on non-destructive surface customization: cleaning, prep, painting, and sealing — all achievable with under $35 and less than 12 hours of cumulative work across several days.
Tools You’ll Need:
– Precision tweezers (straight & angled)
– Fine-tip hobby knife (e.g., X-Acto #11 blade with handle)
– Small, stiff-bristled detail brushes (sizes 00, 0, and 1 round)
– Soft synthetic brush (for sealant application)
– Toothbrush (dedicated to crafts — not for teeth!)
– Cotton swabs (regular and fine-tip)
– Microfiber cloths (lint-free, white only)
– Magnifying lamp or LED desk magnifier (optional but highly recommended)
– Cutting mat (self-healing)
– Small glass or ceramic paint palette
Materials Required:
– A base Sonic action figure (recommended: official Sega/Basic Fun 4” scale figures — e.g., Sonic Origins or Sonic Superstars releases — as they feature clean plastic, good joint articulation, and consistent paint adhesion)
– Isopropyl alcohol (91% or higher)
– Plastic-safe primer spray (e.g., Mr. Surfacer 1000 or Tamiya Fine Surface Primer)
– Acrylic paints formulated for plastics (e.g., Citadel Contrast Paints, Vallejo Model Color, or Reaper MSP Bones)
– Matte and gloss acrylic sealants (e.g., Testors Dullcote + Glosscote, or Krylon UV-Resistant Clear)
– Blue painter’s tape (low-tack, ½” width)
– Optional: Vinyl decal paper (for logos or rings), fine black liner pen (e.g., Sakura Pigma Micron 005), and clear nail polish (for quick gloss accents)
Estimated Time & Cost:
– Total active time: ~8–10 hours (broken into 30–60 minute sessions over 3–5 days)
– Drying/curing time adds ~72 hours (mostly passive)
– Total cost: $22–$34 (figures range $12–$20; supplies ~$10–$14)
– Pro tip: Start with a $12 “display-grade” figure — avoid ultra-cheap knockoffs, which often have uneven plastic that repels paint.
You’re not just building a toy — you’re building confidence, one brushstroke at a time. And Sonic? He’d totally approve of your speed, style, and attention to detail. Let’s go!
Preparation and Planning


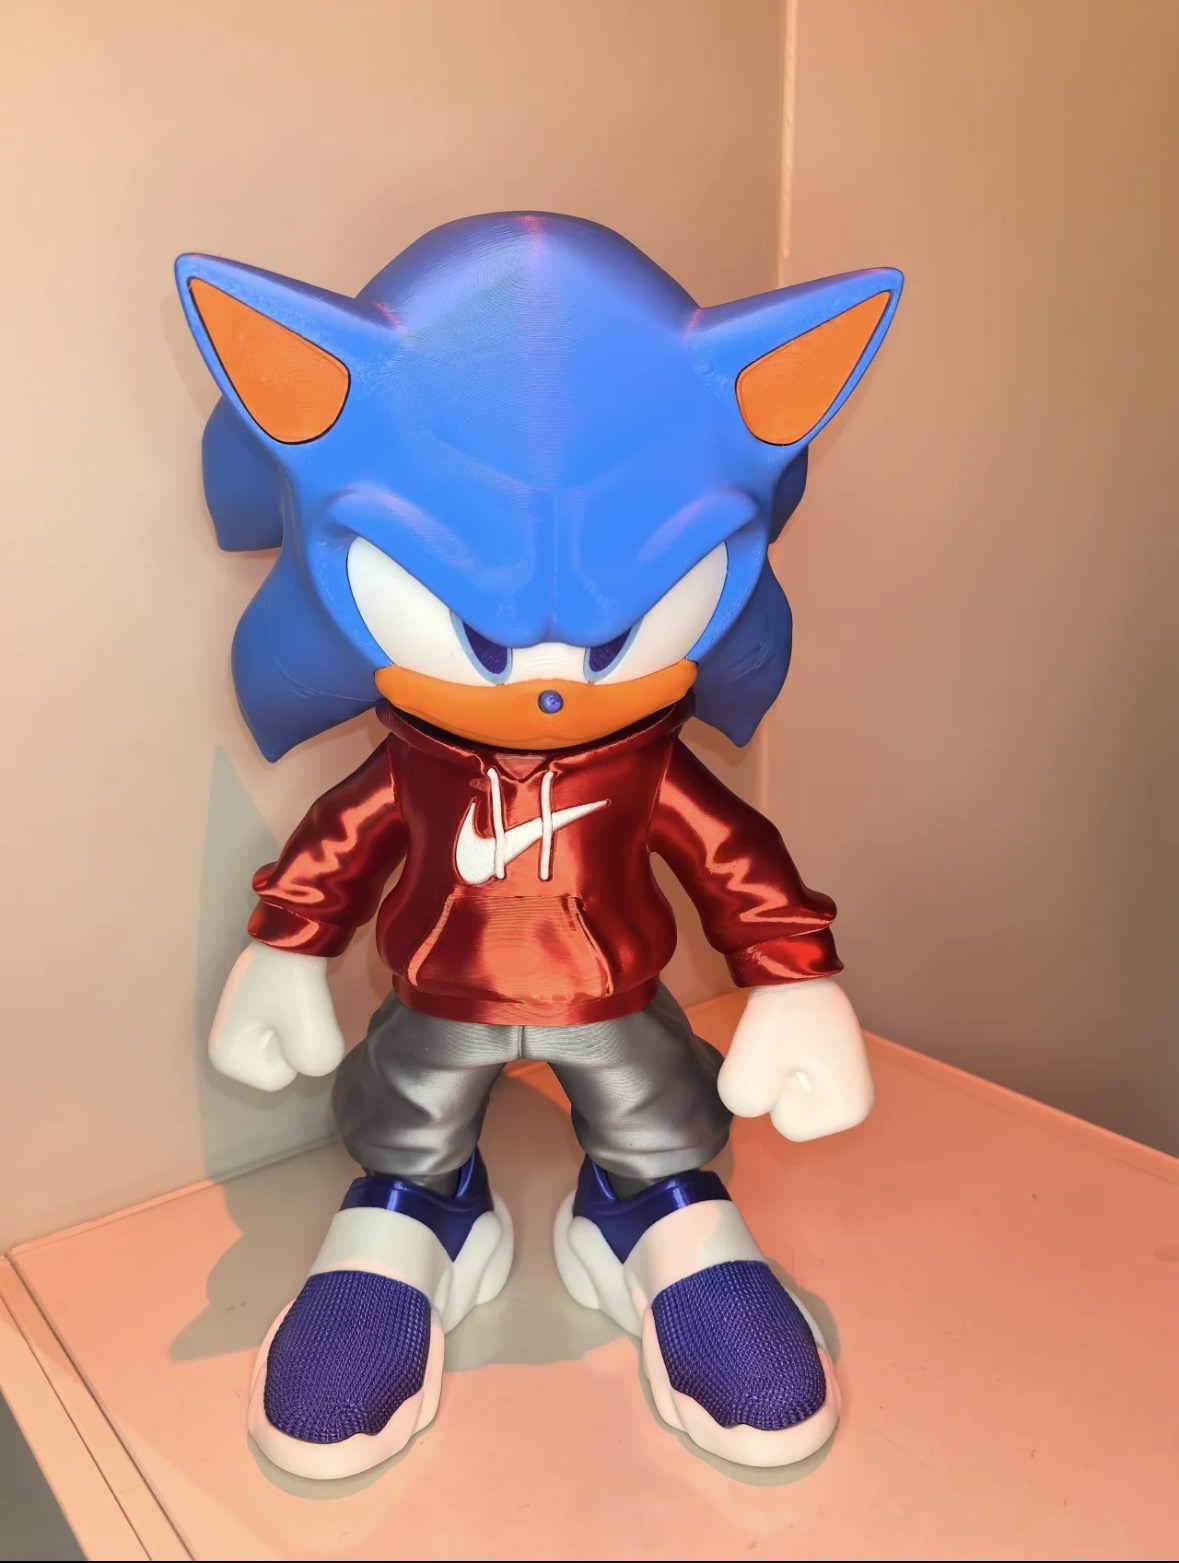
Sonic Action Figure Custom Figurine Anime Streetwear Stance
The custom Sonic Action Figure stands confidently upright, its fists lightly clenched at its sides, giving it a calm yet determined stance. Its intense facial…
View Product →Before you even unbox your figure, thoughtful preparation sets the foundation for success — and saves hours of rework. This phase isn’t about rushing in; it’s about honoring your vision before touching paint. Begin by selecting your reference: a high-resolution screenshot from Sonic Frontiers, a concept art print, or even your own sketch. Save it to your phone or print it — you’ll refer to it constantly.
Pre-work requirements include inspecting your figure under bright light. Look for mold lines (thin plastic ridges along seams), factory glue residue, dust trapped in joints, or existing paint chips. Note problem areas — especially around Sonic’s spines, glove seams, and shoe soles — and photograph them. Then, give your figure a gentle dry dusting with a soft microfiber cloth. Avoid water or cleaners at this stage — some older PVC figures can cloud or warp.
Safety is non-negotiable. Work in a well-ventilated area — preferably near an open window with cross-breeze or under a fume hood if available. Wear nitrile gloves when handling primer or solvents (isopropyl alcohol can dry skin). Keep all materials away from children and pets. Store aerosol primers upright, cool, and out of direct sunlight. Never shake primer cans vigorously — swirl gently instead to avoid bubbles.
Set up your workspace thoughtfully: Cover your surface with butcher paper or a dedicated craft mat. Organize tools within arm’s reach — keep tweezers, brushes, and tape in labeled small containers. Use a foam block or action-figure stand (or even rolled-up socks) to hold Sonic upright while painting delicate areas like his chest or face. Add a small dish of water and a paper towel for brush rinsing — but remember: never rinse acrylics down the drain — blot excess on paper towel first.
Planning tips matter more than you think. Decide early what won’t be painted — e.g., leave joints unpainted for smooth articulation, or preserve original eye decals if they’re crisp and glossy. Sketch a simple “paint map” on scrap paper: assign colors to zones (e.g., “Blue: Spines + torso,” “White: Gloves + chest stripe,” “Gold: Ring emblem”). Prioritize order: paint largest areas first (body), then mid-size (arms, legs), then tiny details (eyes, highlights). And always — always — test colors on the back of the figure’s foot or inside the box flap first. Plastic absorbs paint differently than paper, and lighting changes everything.
When you’ve photographed your reference, mapped your zones, ventilated your space, and washed your hands? You’re ready. Take a breath. You’ve already done half the work.
Step 1: Deep Cleaning, Deglossing, and Priming
This foundational step ensures your paint sticks permanently, not temporarily — and prevents dreaded “peeling,” “cracking,” or “muddy blending” later. Skipping or rushing it is the #1 cause of failed customs.
Begin by disassembling Sonic only as much as needed. Gently pull arms and legs from sockets — most modern figures pop out cleanly without tools. If resistance is high, do not force it. Instead, wrap tweezers in tape to prevent scratching and apply gentle, even pressure. Set limbs aside on a labeled tray (e.g., “L Arm,” “R Leg”) to avoid mix-ups. Leave head and torso intact unless neck joint shows heavy grime.
Next, deep-clean each piece. Soak cotton swabs in 91% isopropyl alcohol and wipe all surfaces — front, back, crevices, and undersides. Pay special attention to:
– The groove between Sonic’s quills and scalp
– Glove fingertips and wrist seams
– Sole treads and ankle hinges
– Any sticker residue or finger-oil film (visible as faint smudges under light)
Let pieces air-dry for 15 minutes — no towels (they can leave lint). Then, lightly degloss with 1000-grit sandpaper — just 2–3 feathery strokes per surface. You’re not sanding away plastic — you’re creating microscopic texture for paint grip. Wipe again with alcohol-dampened swab to remove dust.
Now, priming. Shake your plastic-safe primer for 60 seconds. Hold can 10–12 inches from figure — never closer. Spray in smooth, overlapping passes (left-to-right, then top-to-bottom), rotating the piece slowly. Apply two ultra-light coats, waiting 20 minutes between. Avoid “wet pooling” — if you see drips or glossiness, you’ve oversprayed. Lighter is always better. Let prime fully cure for 24 hours in dust-free air (cover with a breathable cloth, not plastic).
Important tips:
– Prime all parts — even white gloves — to unify absorption and prevent color shifts.
– If using a brush-on primer (e.g., Vallejo Surface Primer), thin with 10% water and apply with a soft flat brush — 2 thin layers, dried 1 hour apart.
– Never prime over stickers or decals unless intentionally removing them first.
Common mistakes to avoid:
❌ Spraying too close → orange-peel texture or runs
❌ Priming in cold/humid air → dull, chalky finish
❌ Skipping deglossing → paint slides right off
Visual description: After curing, Sonic should look softly matte — like frosted glass — with zero shine, no streaks, and uniform coverage. His blue quills will appear slightly muted (not dull), and white gloves will look like blank canvas paper — not glossy plastic.
Checkpoint confirmation: Run a fingernail gently across a primed quill. If it feels smooth but slightly tacky (not slippery), and no white powder rubs off, priming is perfect. ✅
Step 2: Base Painting and Layering
With primer locked in, it’s time to bring Sonic to life — starting with bold, confident base colors. This step builds depth without requiring airbrushes or advanced blending.
Begin with Sonic’s iconic cobalt blue. Load your size 1 round brush with diluted acrylic (mix paint 3:1 with acrylic medium or water — it should flow like cream, not syrup). Paint the entire torso, arms, legs, and quills in smooth, unidirectional strokes — follow the natural curve of each surface. Don’t worry about edges yet; stay 1mm inside seams. Let dry 30 minutes.
Next, paint white areas: gloves, chest stripe, and muzzle. Use a size 0 brush for control. For the chest stripe, place a tiny strip of low-tack painter’s tape along its top edge, pressing firmly to seal — this ensures a razor-sharp line. Paint over the tape edge, then peel tape while paint is still slightly wet (after ~90 seconds) for a clean reveal.
Now add dimension. Once base layers are fully dry (1 hour), deepen shadows: mix blue with 15% black and paint subtle recesses — inner quill bases, armpits, groin seam, and behind knees. Use a size 00 brush and one stroke only — no scrubbing. Then, lift highlights: mix blue with 20% white, and dot just the very tips of 3–5 central quills and the upper chest curve.
For eyes, skip painting over decals unless damaged. If repainting: use black for pupils, white for catchlights (tiny dots at 10 o’clock position), and pale blue for irises — all with a 000 brush.
Important tips:
– Always let layers dry completely before next step — damp paint lifts primer.
– Rotate the figure frequently — paint one side, flip, paint opposite. Prevents accidental smudging.
– Clean brushes immediately after switching colors — dried acrylic ruins bristles.
Common mistakes to avoid:
❌ Using undiluted paint → thick, opaque layers that hide detail
❌ Painting over still-wet tape → bleeding and fuzzy lines
❌ Skipping shadow/highlight → flat, toy-like appearance
Visual description: Sonic now looks vibrantly “alive” — deep blue quills recede naturally, white gloves glow against the blue, and his expression has subtle dimension. The chest stripe is crisp, and light seems to bounce off his quill tips.
Checkpoint confirmation: View under natural light. No bare primer showing through. No visible brushstrokes in large areas (a few fine lines are okay — they’ll seal away). All colors sit evenly, with no streaking or muddiness. ✅
Step 3: Detailing, Sealing, and Final Assembly
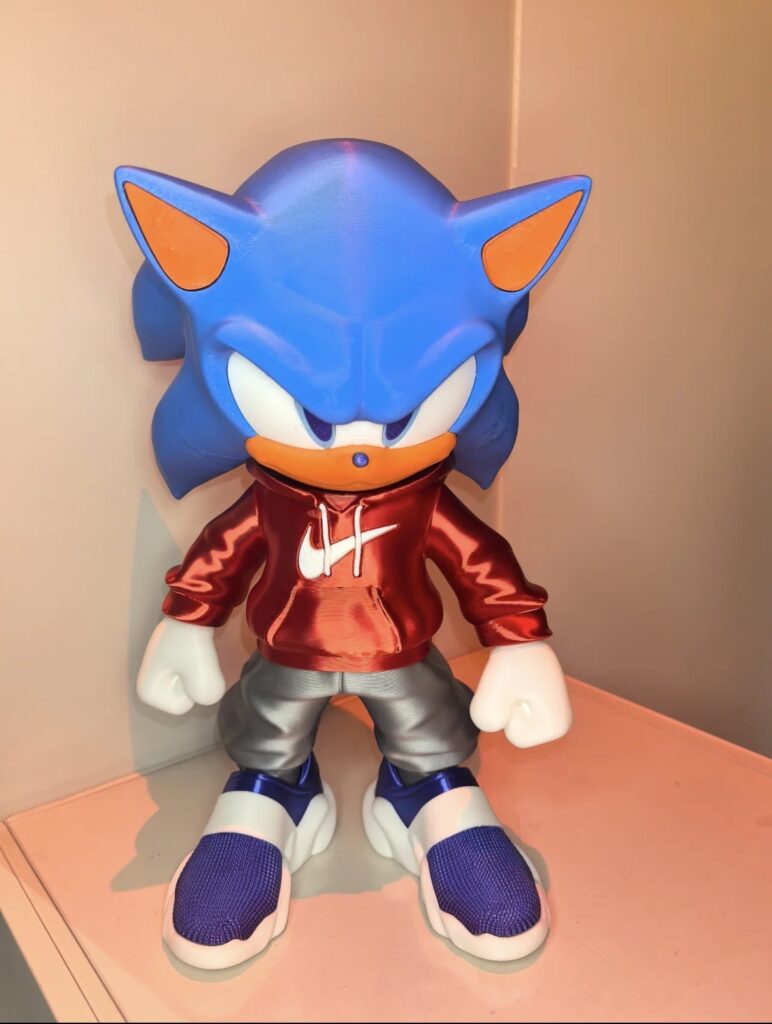
Sonic Action Figure Custom Figurine Anime Streetwear Stance
The custom Sonic Action Figure stands confidently upright, its fists lightly clenched at its sides, giving it a calm yet determined stance. Its intense facial…
View Product →The magic happens here — where precision transforms “painted plastic” into “believable character.” This step celebrates Sonic’s energy, attitude, and iconic flair.
Start with fine-line details: outline glove fingers, define quill separation, and sharpen the grin with a fine black liner pen (Pigma Micron 005). Rest your pinky on the work surface for stability — draw slow, confident strokes. For rings or emblems, use vinyl decal paper: print your design mirrored, cut closely, soak in water, slide onto figure, and gently press out bubbles with a cotton swab.
Then, add signature gloss: dab tiny amounts of clear nail polish or gloss sealant onto Sonic’s eyes (for wet-look shine), ring emblem, and sole highlights. Let dry 20 minutes.
Now, seal everything. Shake matte sealant 60 seconds. Hold 12 inches away and spray two light, even coats — wait 15 minutes between. This locks in paint, evens sheen, and protects against fingerprints and UV fading. Avoid gloss sealant over matte areas unless intentional (e.g., for a “wet pavement” effect on shoes).
Finally, reassemble. Reinsert limbs gently — if sockets feel tight, rub a microscopic amount of silicone lubricant (not oil!) on pegs. Check articulation: Sonic should pose freely — arms raise, legs swing, head tilt — with no grinding or looseness.
Important tips:
– Seal before adding fragile decals — they adhere better to sealed surfaces.
– Use gloss only on intended highlights — too much creates a “plastic toy” look.
– Test sealant on a hidden area first — some formulas yellow over time.
Common mistakes to avoid:
❌ Over-glossing eyes → looks cartoonish, not lively
❌ Skipping final seal → paint scratches off with casual handling
❌ Forcing stiff joints → can crack plastic pegs
Visual description: Sonic gleams with professional finish — matte body, subtle gloss eyes and rings, crisp decals, and perfectly aligned limbs. His pose feels dynamic, not stiff. Under light, colors pop with depth and clarity — no haze, no stickiness, no visible brush marks.
Checkpoint confirmation: Rub fingertip lightly over quills — no paint transfer. Tilt figure — gloss highlights catch light only where intended. All joints move smoothly. Decals lie flat, no lifting edges. ✅
Troubleshooting Common Issues
Even with careful prep, hiccups happen — and that’s completely normal. Here’s how to solve the three most frequent challenges:
Problem 1: Paint lifting or peeling after sealing
Cause: Inadequate cleaning or deglossing — oils or mold release agents remain on plastic.
Solution: Strip affected area with alcohol + soft toothbrush. Re-degloss with 1000-grit, re-prime, and repaint. Never paint over peeling — it will worsen. If >30% of surface is affected, start over — it’s faster than patching.
Problem 2: Blurry or feathered tape lines
Cause: Tape applied over damp paint, or pressed too hard into soft plastic, causing micro-tears.
Solution: Next time, wait until base coat is dry to touch but still slightly tacky (about 90 sec), then apply tape gently — no rubbing. For repairs, use a fine liner pen to redraw the line freehand — practice on paper first.
Problem 3: Dull, chalky finish after sealing
Cause: Sealant sprayed too cold, too close, or in high humidity — creates uneven polymer film.
Solution: Lightly buff with dry microfiber cloth. If persistent, apply one ultra-thin coat of gloss sealant, then immediately dust with talcum powder, wait 5 min, and brush off — this neutralizes excess shine without clouding.
When to seek professional help:
If your figure is rare/vintage (pre-2000), contains electronics (e.g., light-up features), or has cracked/separated plastic — pause. Contact a professional toy restorer (search IG hashtags like #toyrestoration or forums like Toyboard.com). Likewise, if primer causes clouding or warping (rare, but possible with old PVC), stop and consult a conservator — some plastics require specialized solvents.
Remember: Every “mistake” teaches you more than flawless execution ever could. Sonic didn’t save the world on his first try — he kept running.
Final Touches and Maintenance
Your custom Sonic isn’t finished when the last coat dries — it’s complete when he’s cherished, protected, and proudly displayed.
Finishing steps: Attach a small display plaque with your name and date (“Customized by Alex • June 2024”). Add optional magnetic feet (glued discreetly to soles) for secure mounting on metal shelves. Photograph him in natural light — front, ¾ angle, and action pose — to document your work.
Quality check procedures: Examine under three lights — daylight, warm bulb, and cool LED — to catch color shifts. Check for missed spots with a magnifier. Pose him in 5 classic stances (running, crouching, spinning, arms crossed, looking up) — ensure no paint cracks at joints.
Maintenance tips: Dust weekly with a soft makeup brush — never compressed air (it forces debris into seams). Every 3 months, wipe with barely damp microfiber — no cleaners. Store away from direct sun — UV fades blues fastest.
Care instructions: Never submerge. Never use alcohol on painted surfaces post-seal (it dissolves acrylics). If a decal lifts, re-adhere with one drop of Future Floor Wax (a safe, clear adhesive) — applied with toothpick.
Enhancement suggestions (when ready):
– Add weathering: dry-brush silver on quill tips for “wind-worn” realism
– Install LED micro-light in chest cavity (requires soldering — research “LED figure modding” first)
– Build a diorama: cardboard loop, printed Green Hill Zone backdrop, miniature rings
You didn’t just customize a figure — you honored a legacy. Sonic’s speed, spirit, and joy are now reflected in your care, creativity, and courage to begin. So stand back. Smile. And know — whether he’s racing across your shelf or guarding your desk — your Sonic is uniquely, unmistakably yours.
Now… what’s next? Tails? Knuckles? Or a whole team? The adventure’s just getting started. 🌀


